Introduction
This document explains the steps that need to be followed to set up Adword and Facebook remarketing tag using FirstHive’s Tag manager interface.
Benefits of Using Tag Manager for Setting Up Remarketing Tags:
- Better management and control over your tags.
- Higher security.
- Code optimization.
- Release IT from marketing code deployment.
- Bring changes to the market faster.
- Reduce cost in your organization.
How to Create a Custom Google Adword Remarketing Tag?
Using Google’s global remarketing tag, you can create Google’s Standard remarketing list based on URLs. Which basically look for the values in the URL and create a remarketing list based on the setting done in your Adword account.
Some of the examples for remarketing list created using page URLs are ‘All users’ (default remarketing list of Adword), remarketing list for each section of your site, or by campaign source using the UTM_Source parameter in your page URL.
Google also allows the creation of an advance remarketing list based on custom action or activity a customer performs on your site. To create this list, you need to pass a custom parameter to Adword which can be later used for creating the required remarketing list in AdWords. However, to create this you need to place additional code along with Google global tag on your page and also hard code the trigger logic which will require your IT team intervention.
However, with FH-Tag manager, customer remarketing lists can be created easily and with minimum effort. Below is custom parameter code format for Google AdWords.
<!-- Event snippet for AdWords custom parameters -->

<script>

    gtag('event', 'page_view', {'send_to': 'AW-123456789',

      'parameter1': '', // Include your custom parameter here

      'parameter2': '', // Include your custom parameter here

      'parameter3': '' // Include your custom parameter here

    });

</script>
|
|
Some examples
Create a remarketing list of users who engaged with your registration form but did not register:
- Define an event on your website say Reg_start, when a user engages with the form,
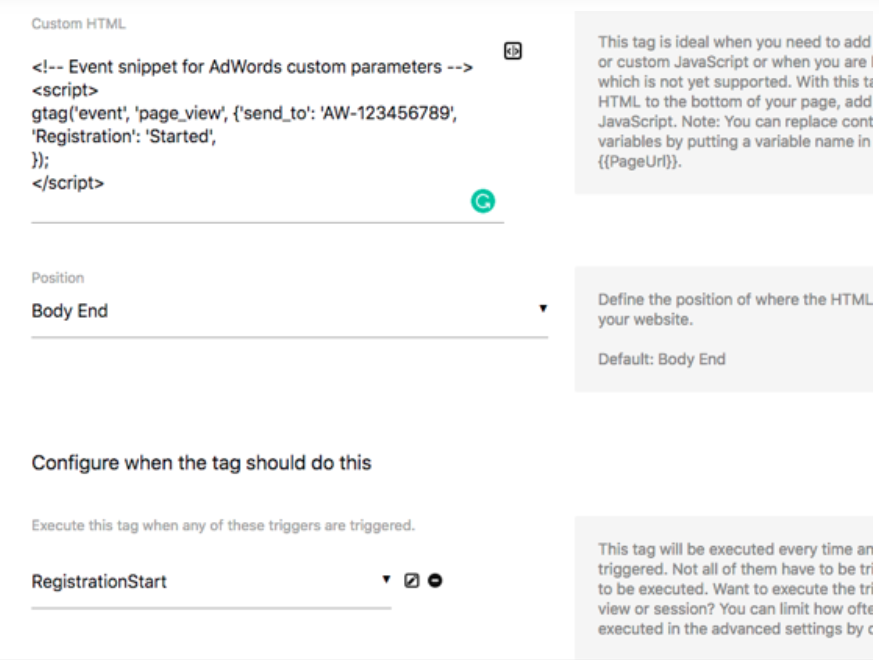
- Host the below Google custom parameter code in FH tag manager interface and select the trigger for this tag as Reg_Start.
With above setting, your FH-Tag Manager will load the below code only when the event Reg_Start occurs on the page.
<!-- Event snippet for Example dynamic remarketing page -->

<script>

  gtag('event', 'page_view', {'send_to': 'AW-123456789',

   'Registration': 'incomplete',

  });

</script>
|
3. Once the tag is rendered, this value will be available in AdWords. You can then create a remarketing list in Adword for targeting the Audience with parameter as “Registration” and value as “Complete”
More examples of custom parameters:
- If you’re an online travel site, you could consider creating lists around travel origins and destinations, check-in and check-out dates, or different travel packages.
- If you are an ecommerce site you would like to track the product id, product value, or product type and then serve users say who have purchased product above x value or show custom ads with the product seen by the users.
In upcoming sections, we will explain in detail how you can enable all these google features by implementing custom parameter code through FH tag manager with minimal effort and high flexibility.
|
How to Create a Custom Facebook Remarketing Tag?
Similar to Google Adword, Facebook’s basic remarketing pixel will only create the remarketing list based on the page URL as per the setting done in your Facebook account.
To create an advance remarketing list, like Google, Facebook also allows you to pass custom parameters which can be later used for creating a remarketing list. This involves rendering below code on different event or activity that is performed by the users.
</script>

fbq('trackCustom', '<CustomEventName>', {
custom_param1: 'ABC',
custom_param2: 123,
value: 10.00,
currency: 'USD'
});

</script>
|
The above tag can be used for similar use cases as mentioned in Google AdWords example.
These tags can be easily managed and triggered when uploaded using tag manager. The setup process in FH-Tag manager for Facebook or AdWords custom parameter code is the same.
|
How to Set up Facebook and Google Remarketing Custom Parameter Code in FirstHive Tag Manager?
Terminologies
Before we begin, we need to get used to few terminologies used across Tag manager interface:
- Container: Container holds the set of tags that will be added to the site. Each container corresponds to or represents the single FH Tag Manager tag placed on your site.
- Tags: A tag is a snippet of code that can be executed on your site. Most of the time a tag may be used to either send data to a third party (for example tracking data, conversation pixels) or to embed content from a third party into your website (for example social widgets or surveys). You can add as many tags as you like and a tag will be executed as soon as the condition of a connected trigger is met.
- Triggers: Triggers let you define in which event a certain tag should be fired or blocked. For example, when a specific element was clicked, or when a visitor reached a certain scroll position. Additionally, you can specify a filter to further restrict if a certain trigger should be triggered or not. Learn more about how you can customize these triggers for your use.
- Variable: A Variable allows you to basically use a dynamic value whose actual value will be resolved at the time the value is being accessed, for example, this could depend on the current page URL, Referrer, Screen size, or more. Learn more about a different type of variables you can create
- Preview/Debug: One of the most important features of a TMS is the possibility to test it before sending it online. It is important to note that the tag(s) you will publish may have some consequences on the performances of your website (display, loading time, etc.) so exactly like a Content Management System, you will preview how your tags are rendering before sending the live version to your website. Learn more
- Version: Versions let you save a copy of the current configuration of a container so you can go back to a previous version of a container if you need to do so. Learn More
- Publish: Once you feel that your tags, triggers, and variables are properly set, you can publish them on your Dev/Staging/Live website by informing your team about the changes which have been made. Learn More
|
Getting Started
Log into your FirstHive account.
- Go to Admin >> Click Site Tracking >> Click three vertical dot icon “⋮” under Action >> Click “Site Analytics”.
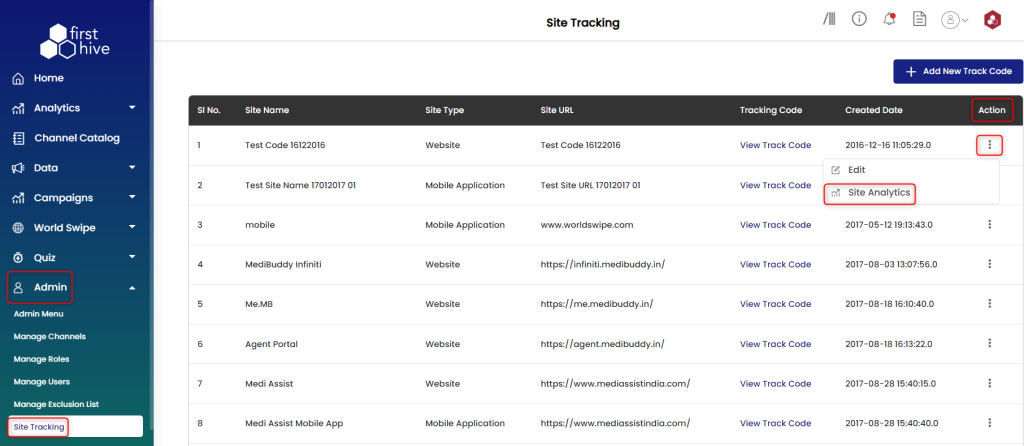
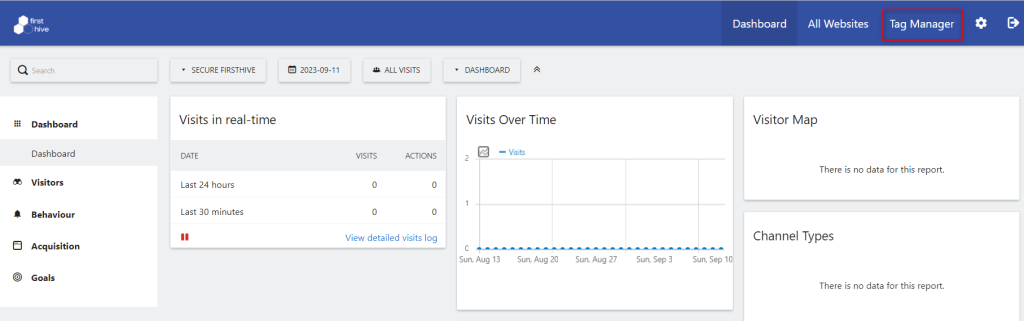
- Click on the “Tag Manager” link on the top bar.
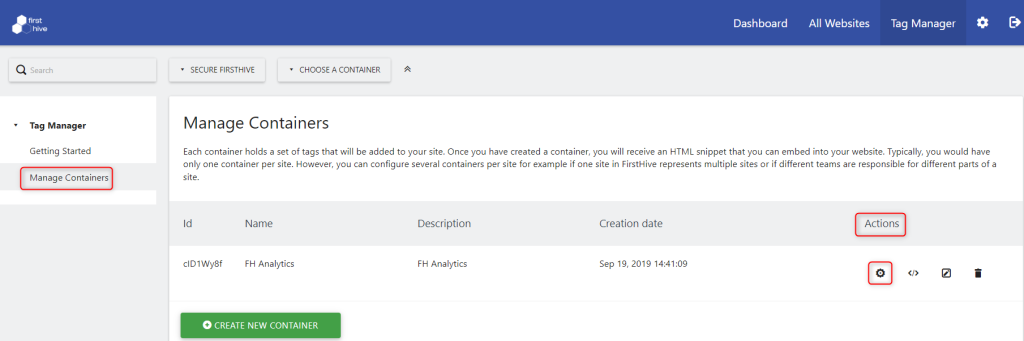
How to Edit a Container?
- Click on the
 icon under Action, on the “Manager Container” screen.
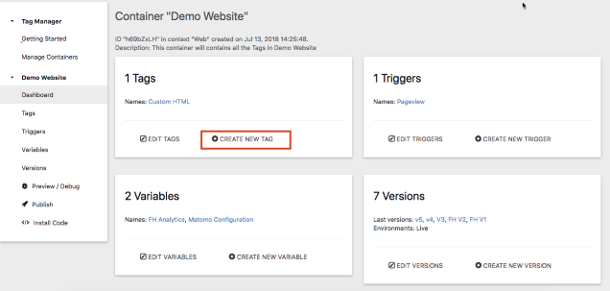
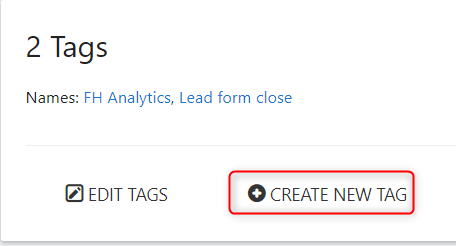
2. It will take you to the Container Dashboard. On below screen, in the Tags’ section, click on “CREATE NEW TAGS”.
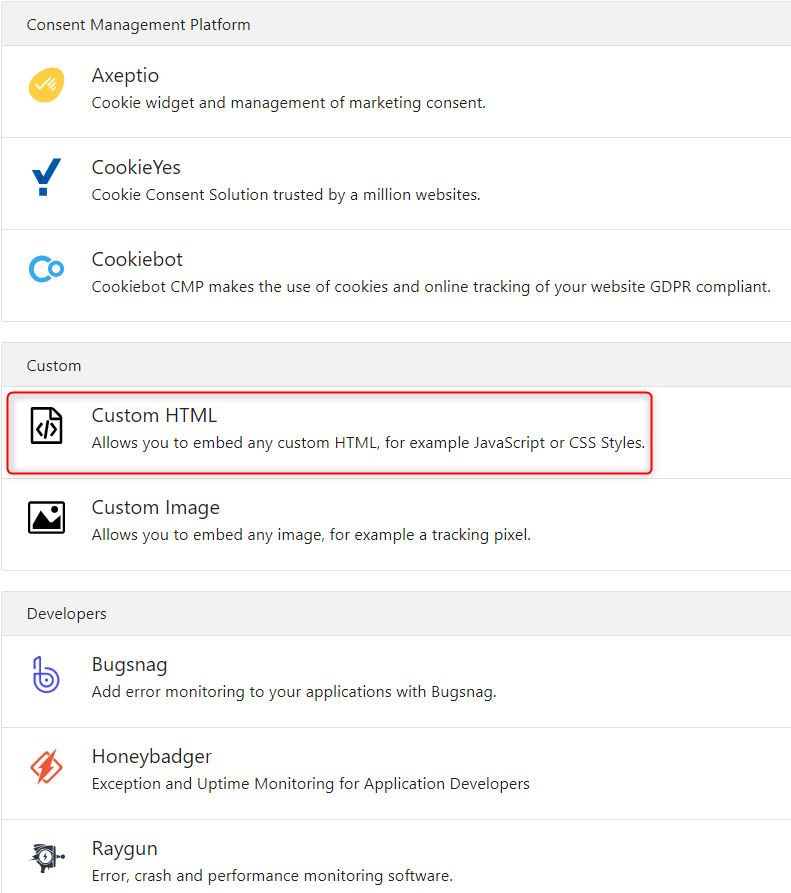
3. Select Custom HTML
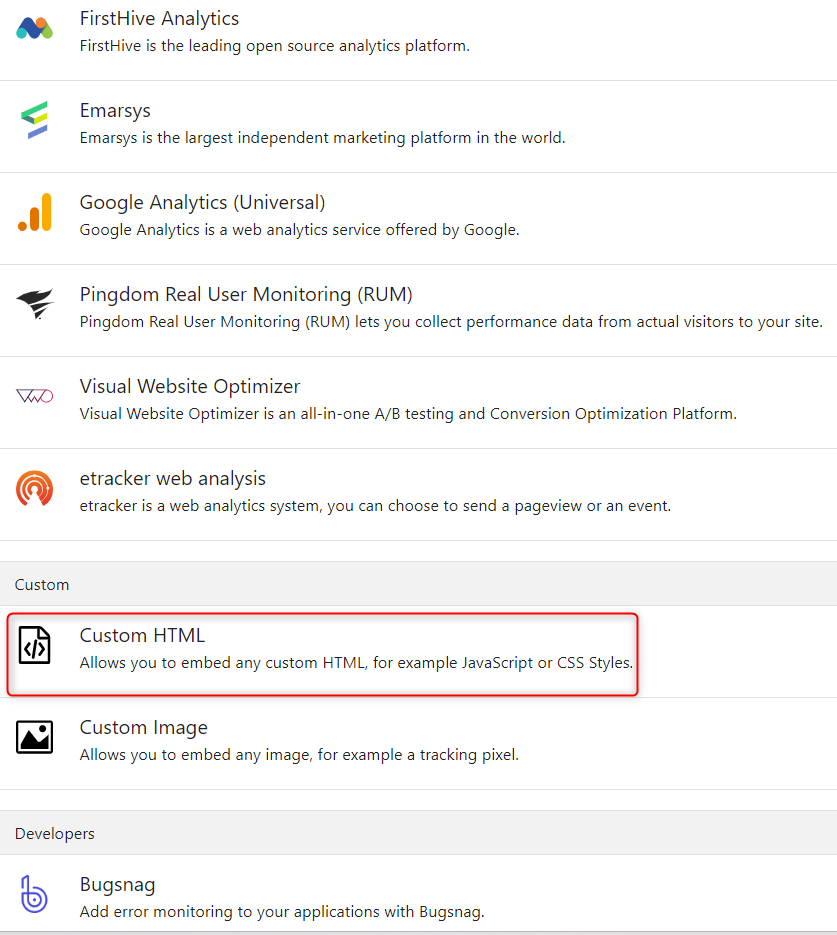
4. In the below screen, do the following steps:
![]()
Step 1: Name your Tag appropriately. For e.g., if you are placing a Google analytics tag then name it as Google Analytics. If it is a remarketing Custom Parameter tag for tracking product details, then name the same.
It is recommended that you host your AdWords global remarketing tag and Facebook remarketing Pixel in FH-Tag Manager itself, instead of placing it on your page. Follow the below steps to upload AdWords and/or Facebook pixel in tag manager.
How to Upload AdWords Global or Facebook Pixel Tag in FH-Tag Manager
Step 1: In the above screen. Name the tag appropriately
Step 2: Paste your Google global tag or Facebook pixel in place of Custom HTML.
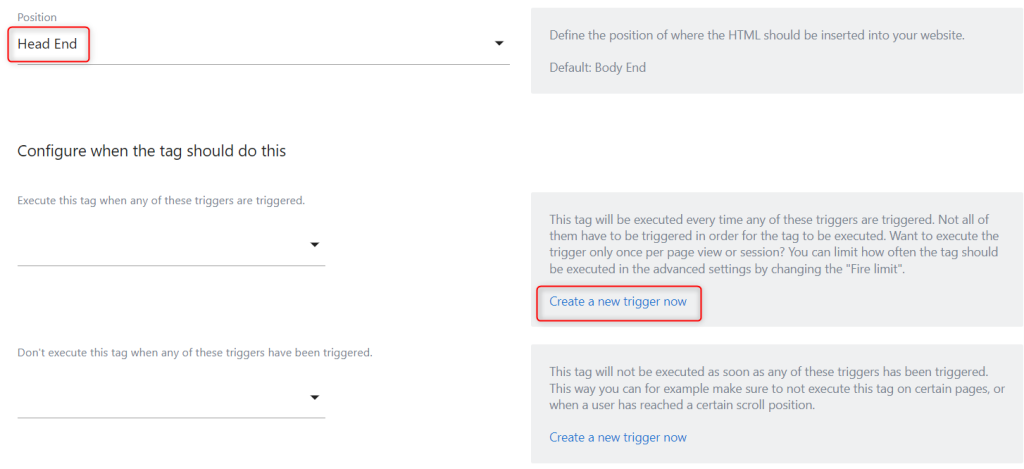
Step 3: Select Position as ‘Head End’.
Step 4: Click on “Create new trigger now”
Step 5: Select the trigger as Dom Ready/PageView
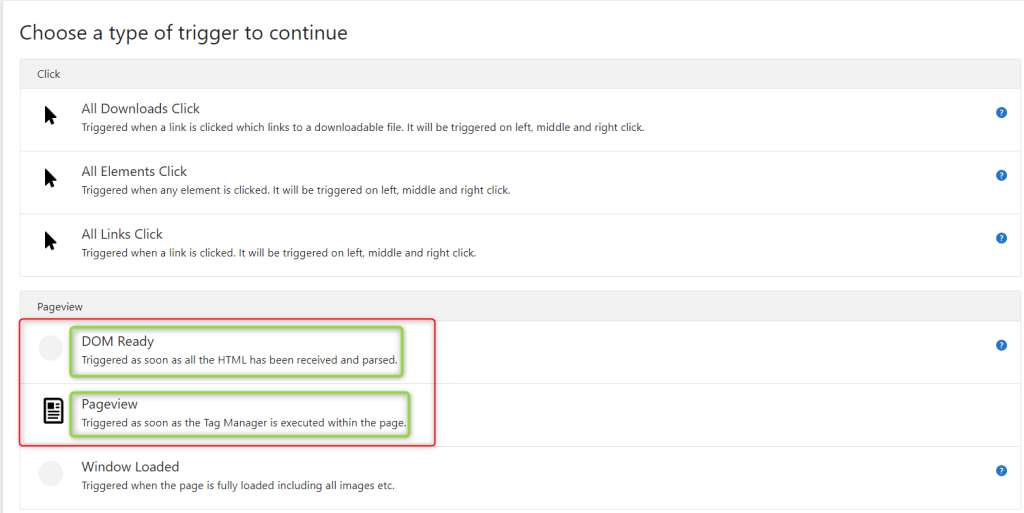
Step 6: When you click on these triggers, you will be taken you below screen
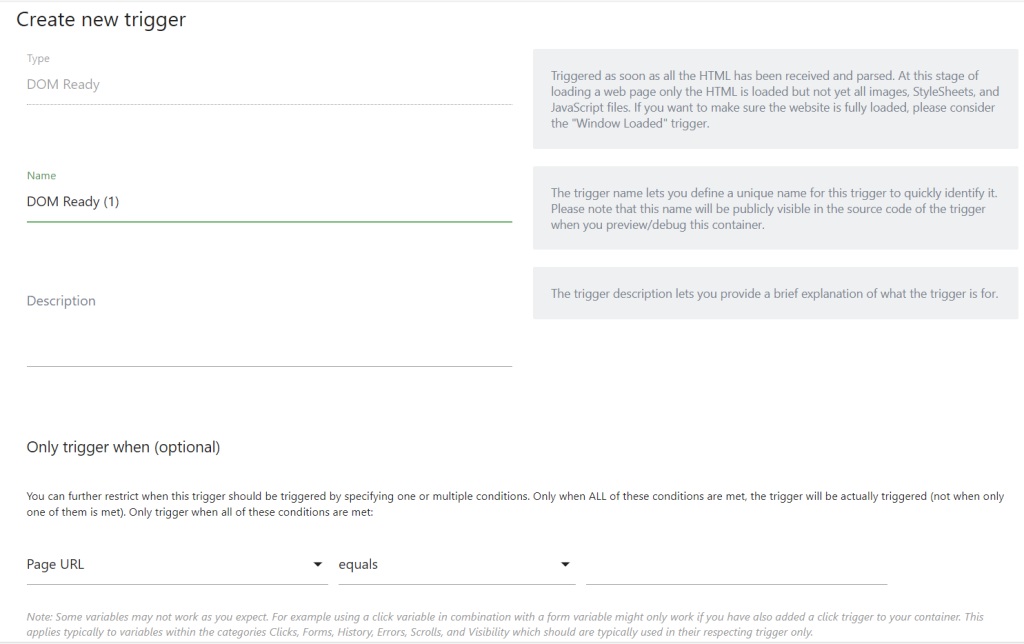
Step 7: You can give a different name or keep it the same. You have an option to restrict the trigger further by adding constraints like page URL etc.
Step 8: On submit the trigger will be added in your Create new Tag interface and you are good to go ahead and submit your tag.
Once you have setup the Adword global tag and Facebook pixel, you can go ahead and setup the custom parameter code in FH-Tag manager.
How to Upload Facebook and Google’s Custom Parameter Code in FH-Tag Manager?
Step 1: Go to Tags >> Click Create New Tag
Step 2: Select Custom HTML.
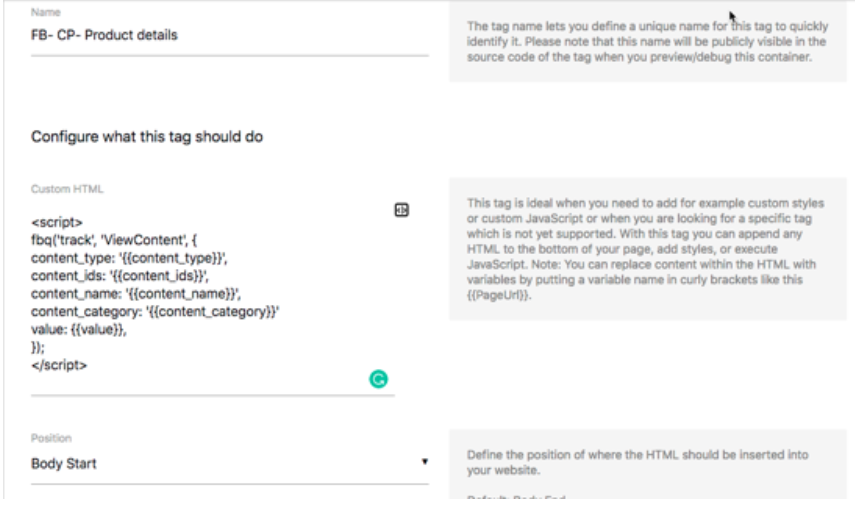
Step 3: Name the tag appropriately
Step 4: Paste your custom parameter for Adword and/or Facebook
Step 5: Select Position as ‘Body Start or Body End’.
Step 6: Click on “Create new trigger now”. Go through the pre-defined list of triggers, check if the trigger you are looking for falls in any of the standard triggers if not then we can customize it for a specific action i.e., event defined on your webpage occur.

Step 7: FH-Tag Manager also allows you to block the rendering of the code on a specific trigger. This is an optional feature that can be used if required.
Step 8: Submit the tag.
Some examples of custom code implementation for your reference.
Example 1:
- Create a remarketing list of Customers who engaged (started filling) with your registration form but did not register.
- To track this, we need an event on a webpage that Tag Manager can use to identify if the user has engaged with the form. Hence, before we start with the setup in Tag manager make sure that an event says Reg_Start is coded on the registration page.
Now, go to your Tag Manager interface
- Edit your existing container
- Click on Create New Tag >> Custom HTML >> Name the tag and past the Google customer parameter code.
Sample custom parameter code:
<!-- Event snippet for Example dynamic remarketing page -->

<script>

  gtag('event', 'page_view', {'send_to': 'AW-123456789',

   'Registration': 'started',

  });

</script>
|
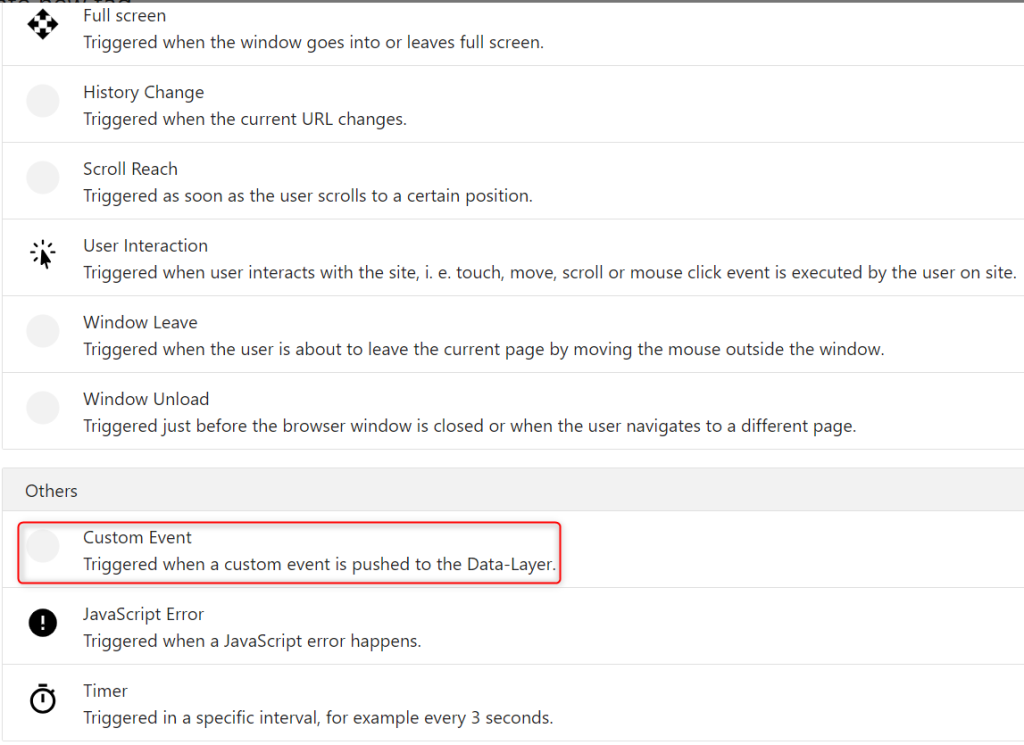
- Click on “Create New trigger now” Select the trigger as Custom Event
- Name the event say Registration Start and write a brief description.
- In Configure this trigger, select the event name (as defined on your webpage) i.e., here in this example it will be Reg_Start
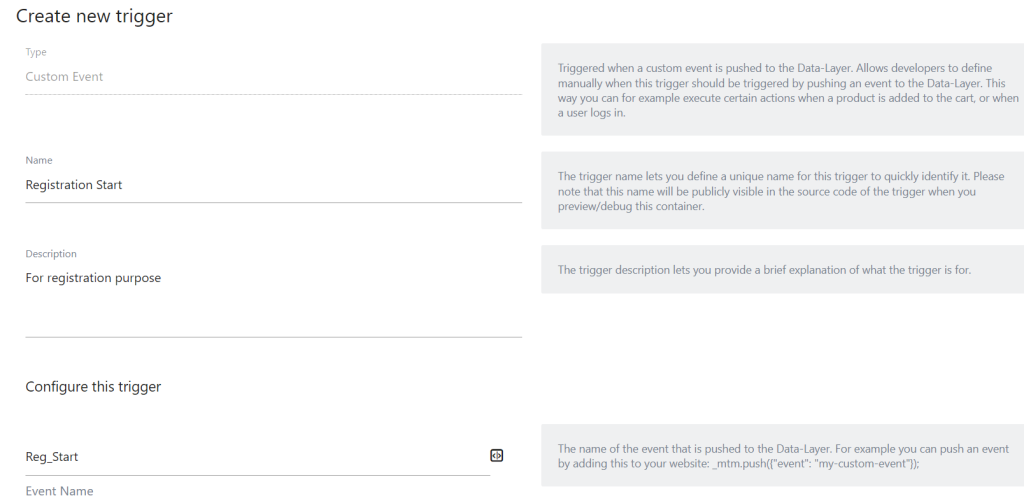
- You can add further constraints or settings if necessary and submit the form.
 NOTE
NOTEThe newly added trigger will be added to your tag creation interface. This trigger can be reused for any other tags in the container. It will be available in the trigger drop-down for other tags.
- On Submit the event will be added in your Create tag screen as shown in the below screen.
- Submit the form.
Example 2: Below custom parameter code of Facebook is sending dynamic values about product, which is accessible only when user lands on a particular page.
<script>

fbq('track', 'ViewContent', {
content_type: 'product',
content_ids: ['1234'],
content_name: 'ABC Leather Sandal',
content_category: 'Shoes'
value: 0.50,
});

</script>
|
To Implement this in FH-Tag Manager, Follow the steps mentioned below:
All the data required to be passed to FB can be passed to FH-Tag Manager using one of the below data layer format
<script>
  dataLayer = [{
    'variable-name': 'value'
  }];
</script>
|
OR
<script>
var  _mtm =  _mtm || [];
_mtm.push({'Variable-name': ‘MY CODE HERE TO GET THE DATA FROM A WEATHER API’});
</script>
|
To learn more about the data layer refer FirstHive Tag Manager knowledge base
|
Once these values are sent to FH-Tag Manager you can easily set up variables in Tag manager which will correspond to the variable/value passed in the Data layer. This variable can be used across your container to pass these values to any number of tags/3rd. Saving you from hard coding it individually for each tag if placed on the webpage.
Assuming below data layer is placed on your webpage for this example
<script>
  dataLayer = [{

‘content_type’: ‘product’,
‘content_ids’: [‘<ID of the product>’],
‘content_name’: ‘<Name of the product>’,
‘content_category’: ‘<Category of the product>’
‘value’: <value of the product>,

}];
</script>
|
Then below is how your FB customer parameter code will look like in the FH-Tag Manager interface.
 Here for each custom parameter, we are referring to the value that is passed in the Data Layer. This is accomplished by creating a variable for the same in the FH-Tag Manager interface. Listed below are the steps to create a variable:
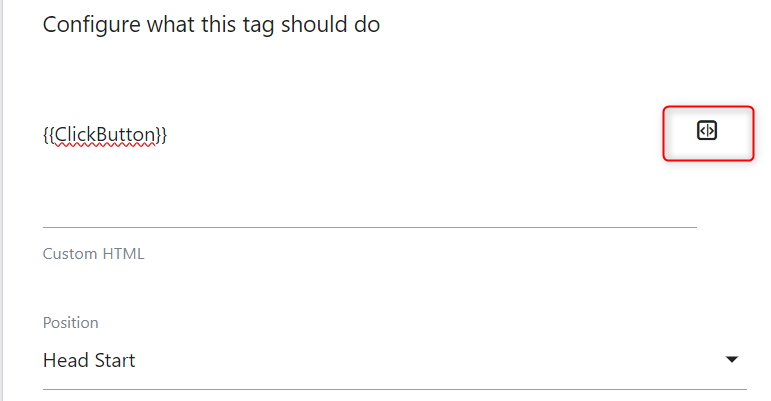
Step 1: Click variable button beside your custom HTML box.
Step 2: Click “CREATE NEW VARIABLE”.
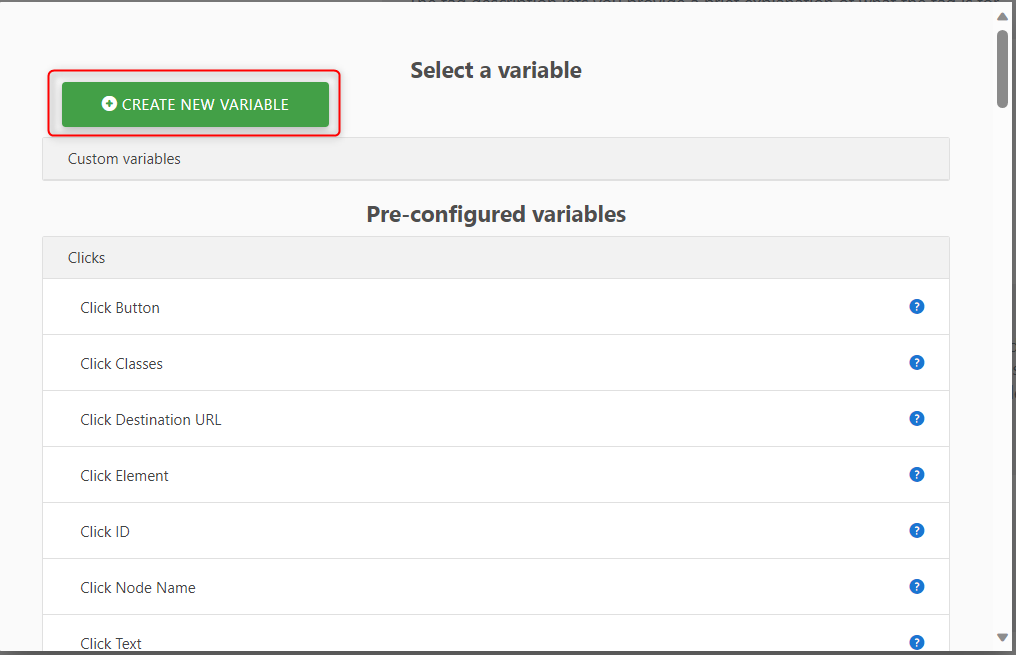
Step 3: Click on the Data-Layer
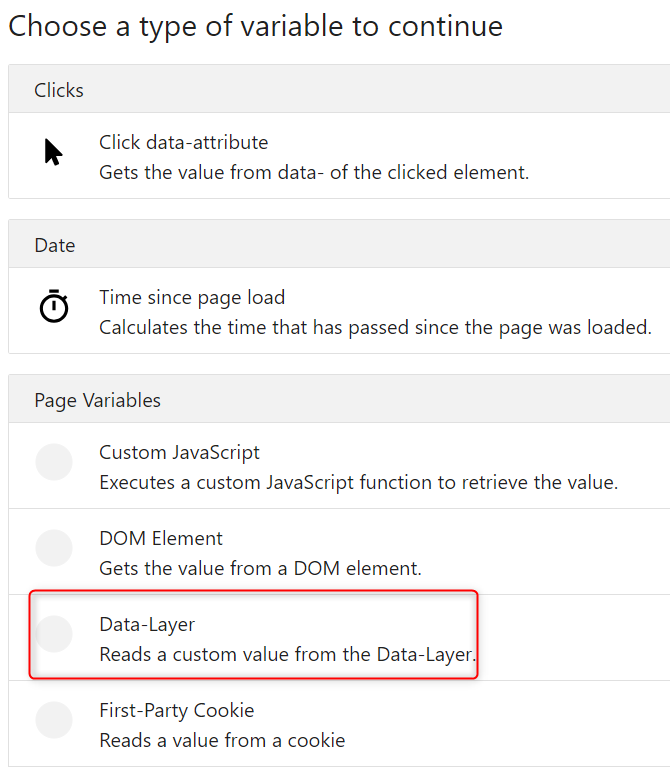
Step 4: Name the variable. In ‘Configure this variable’ add the variable name same as the one passed in your Data layer.
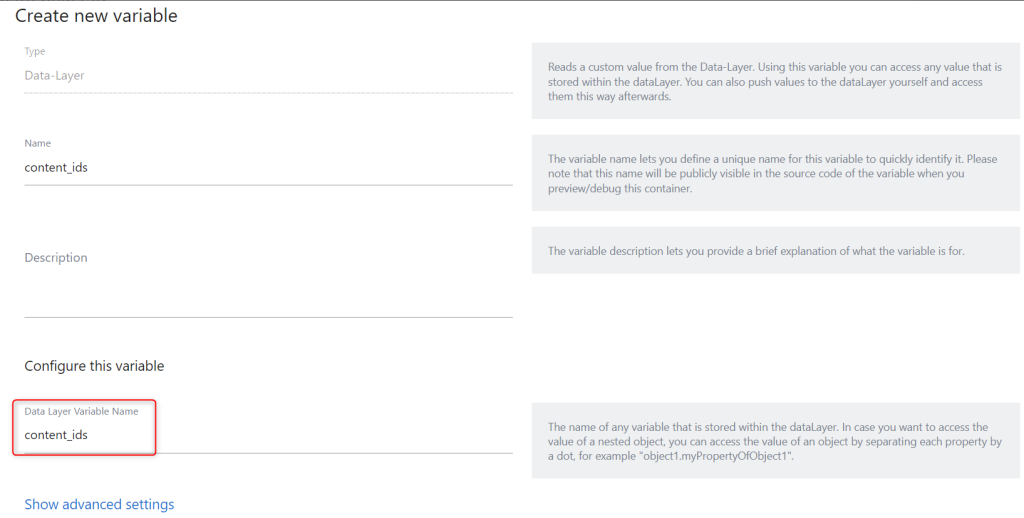
Similarly, create the variable for all the values to be passed from the data layer to the code hosted in your FH-Tag Manager. Learn more about variables in our FH-Tag Manager Knowledge base. On submit, the variable will be created. You can now add the variable by first clicking in the code (where you want to place the value) then click on the variable icon and select the variable. This will automatically insert the value into the code.
Once the setup is done you need to create a Version of your Tag Manager container, test on your test/dev environment, and Publish the code. Refer to our Tag manager knowledge base to learn more