How to Set up a Voice Campaign in FirstHive?
To Set Up Voice Campaign:
Go to Campaigns >> Create your campaign
- Enter the name for your Voice campaign
- Click on the Voice icon
- Choose your sender ID and click on continue

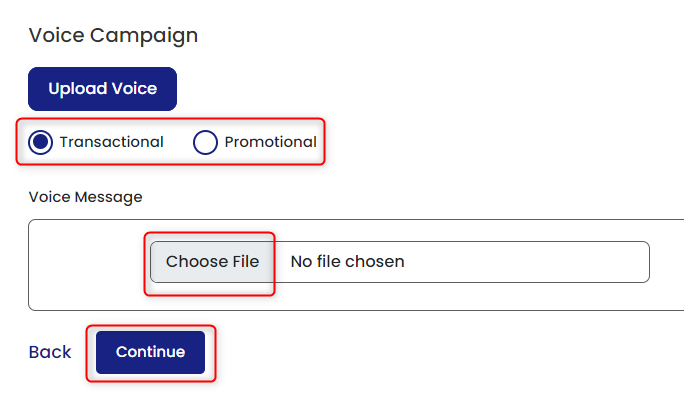
- Click Upload Voice >> Select Transactional/Promotional >> Upload the file >> Click Continue
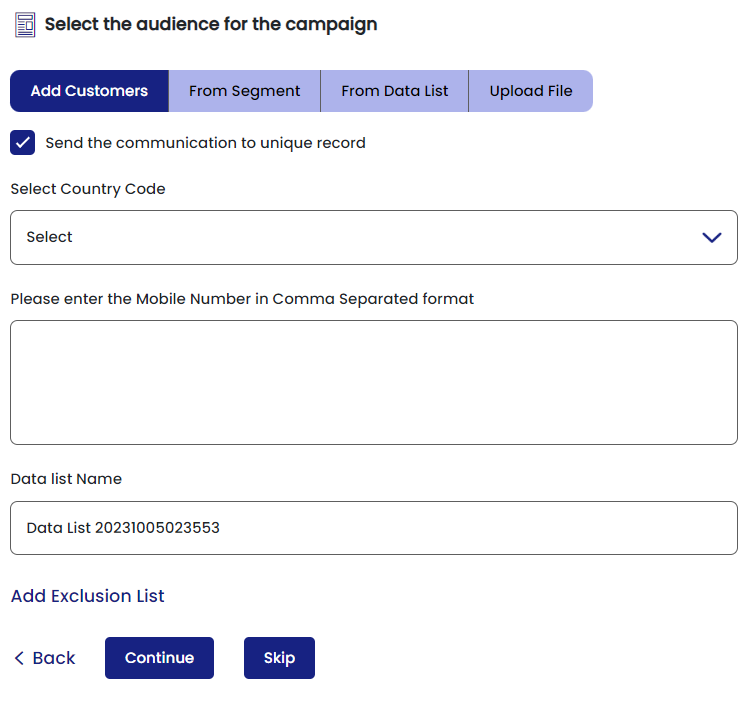
- Select the Audience that you would like to target by either selecting Data List, Segment or directly uploading the audience that you would like to send your Voice.
 NOTE
NOTEThe contact list of users should have the necessary country code for the campaign to work properly.
- You can Add Exclusion List if any or just click ‘Continue’ to see the preview.
Press ‘Skip’, if you are just creating the template and want to execute the campaign in FH-Journey orchestration interface. - Click Execute Now to execute the voice campaign, click schedule icon
 to schedule it for later or click Test Call to send a dummy call (Test Call) to the given number.
How to Test the Voice Before Making the Campaign LIVE?
In the preview screen, before scheduling or executing your campaign.
- Select the country code.
- Enter your test phone number and click on ‘Test Call’.
After testing the campaign, you can click on Execute now or Schedule it for later date.
How to Edit My Voice Campaign?
Go to Campaigns >> Manage Campaigns
Editing scenarios:
SMS content can be edited only for the SMS in Draft mode/status.
- Search for the campaign to be edited
- In the Action column, click on edit icon
To remove an audience from targeting for a live campaign.
- Search for the live campaign
- In the Action column, click on the user icon
To add or update the exclusion list for live campaigns.
- Search for the live campaign
- In the Action column, click on the Assign/Edit Exclusion list icon.
- Select the exclusion list or replace with the new list.