How an Event is Triggered?
In order to check the event triggered in FH, you need to follow the steps mentioned below:
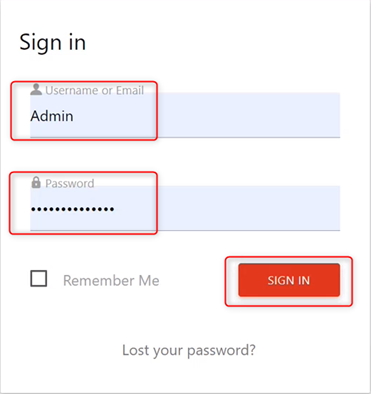
- Go to firsthive.com/engage/piwik/
- Enter your login credentials, click SIGN IN.
Now,
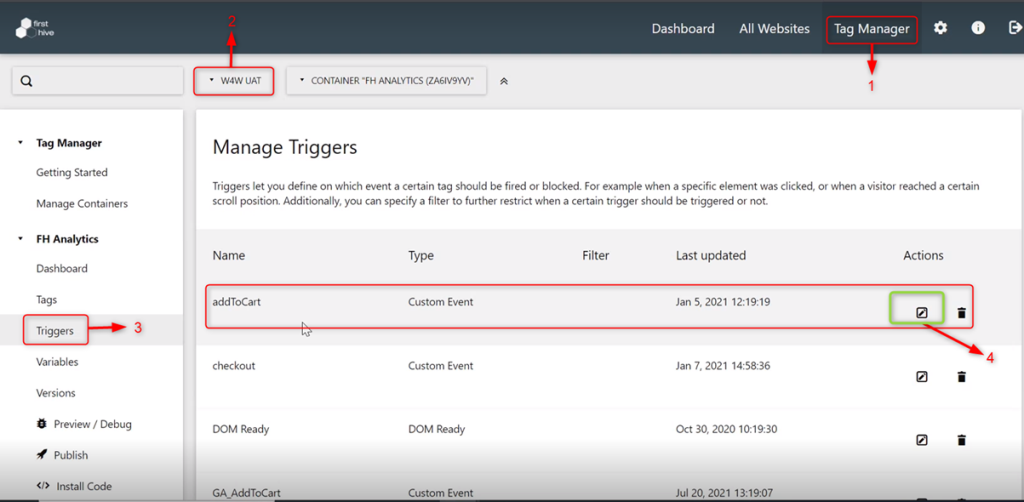
- Go to Tag Manager.
- Select the program. As you have logged in to wforwoman.com, so you need to select W4W UAT.
- Click Tiggers.
- You can see, the evet addToCart is called.
- Click Edit icon under Actions.
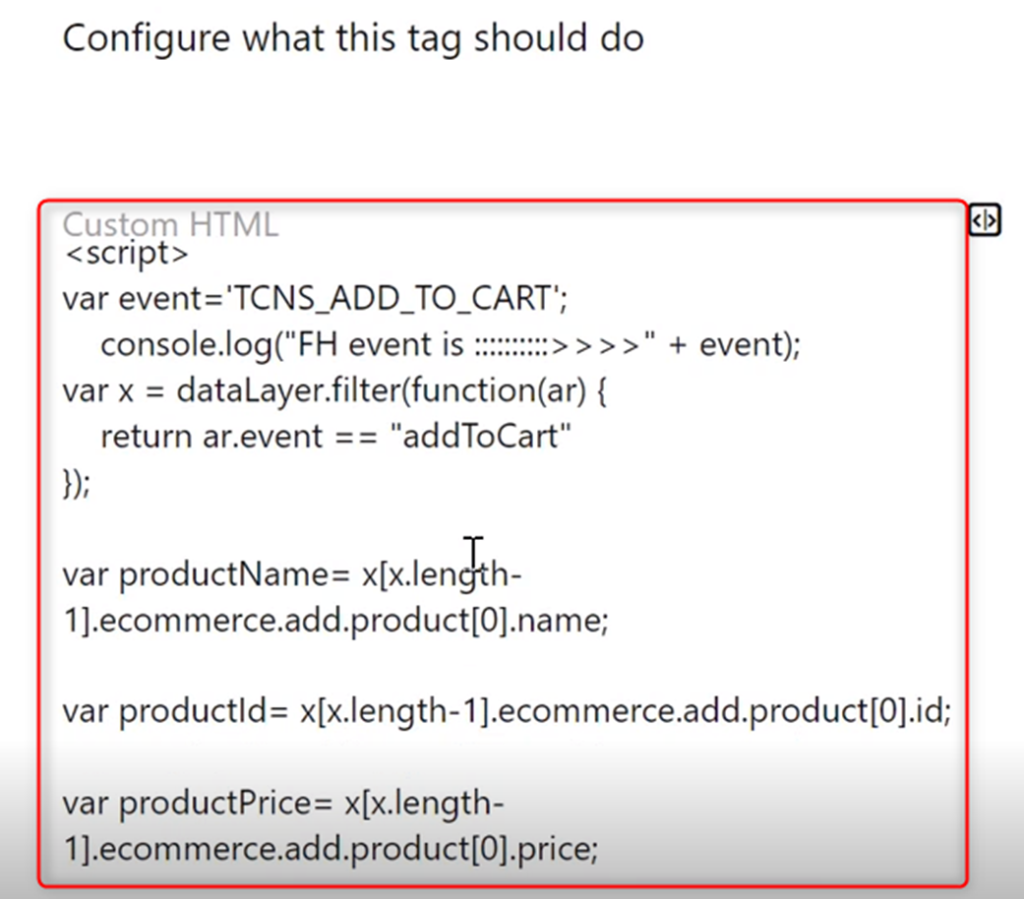
When the event name = addToCart is pushed into the data layer, FH tags are triggered. Then, this particular script will be called.
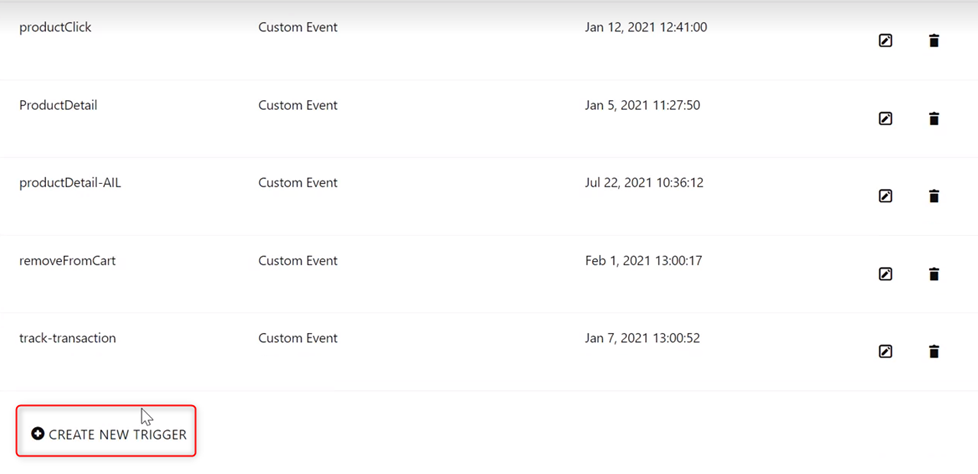
What Do You Mean by Custom Event?
A custom event is triggered when pushing into the data layer.
To add a custom event, you need to follow the steps mentioned below:
- Click CREATE NEW TRIGGER
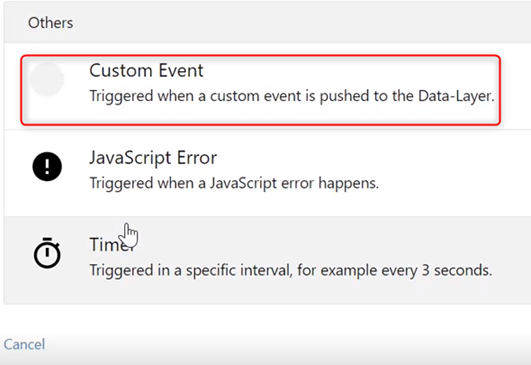
This will ask you to choose a trigger type and you need to define it as Custom Event.
How to Check the Events Captured?
To check the events captured, follow the steps mentioned below:
Go to the website and open the console:
- Click Application.
- Enter the visitor id in search box or search for visitor in the search box.
- Copy the visitor_id as displayed in the value section.

| NOTE visitor_id: The id created against a particular visitor. |
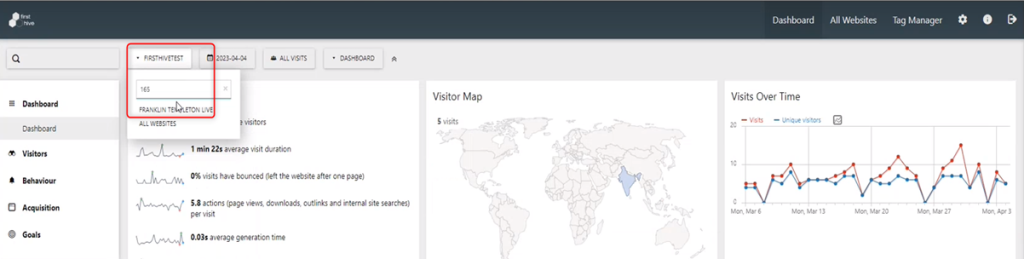
Now, go to FirstHive Dashboard:
- Select the campaign from the drop-down or search by campaign _id/campaign name.
- Under Visitors tab, click Visitor Log.
- Then, click View Visitor Profile.
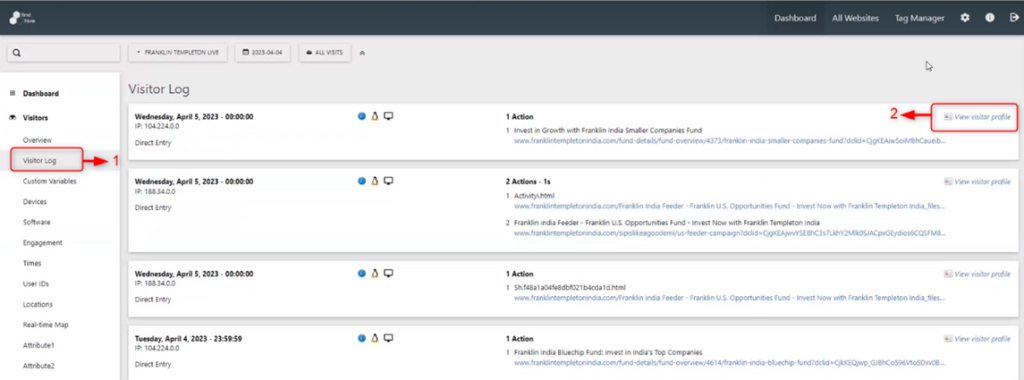
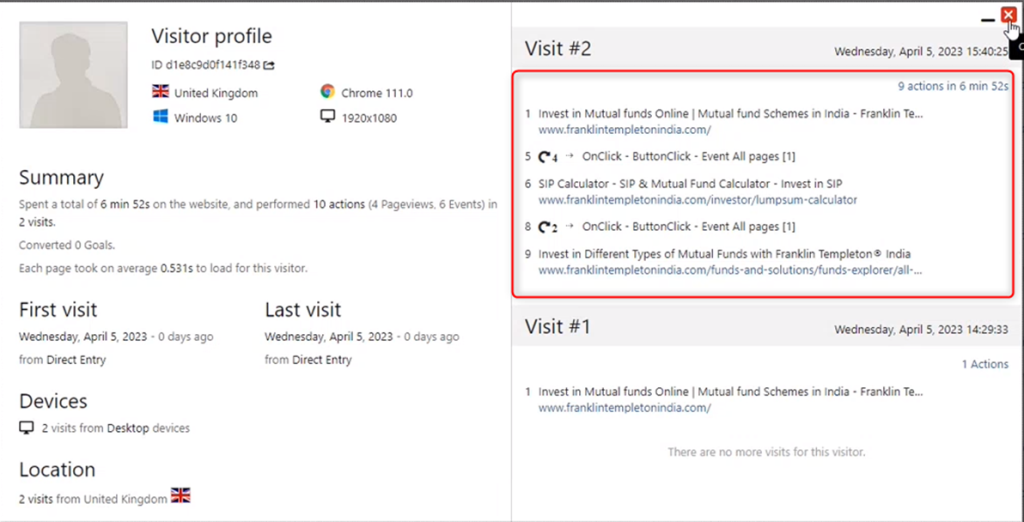
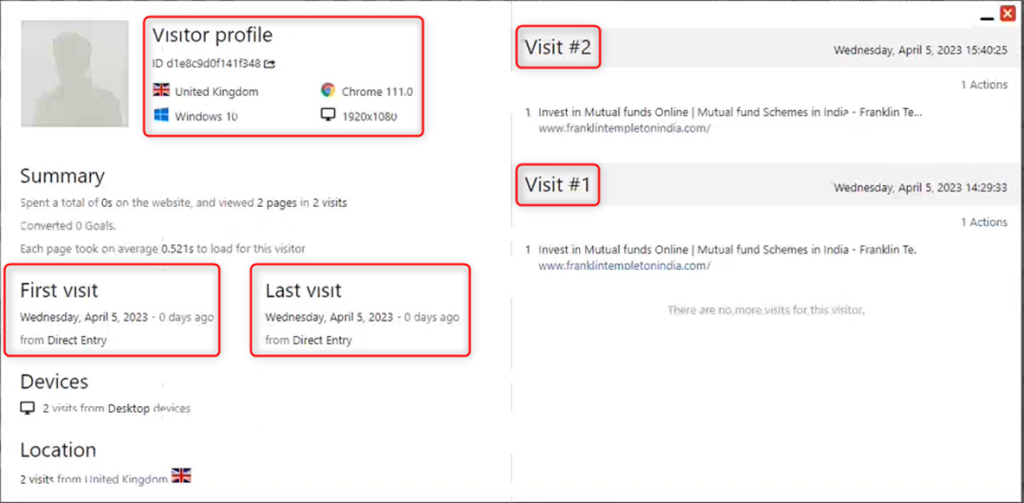
Here, you can see all the details related to a visitor’s profile. As shown in the screen below, replace the underlined section in the link with the copied visitor_id and click enter or just refresh the page. This will display the profile for that particular id only.
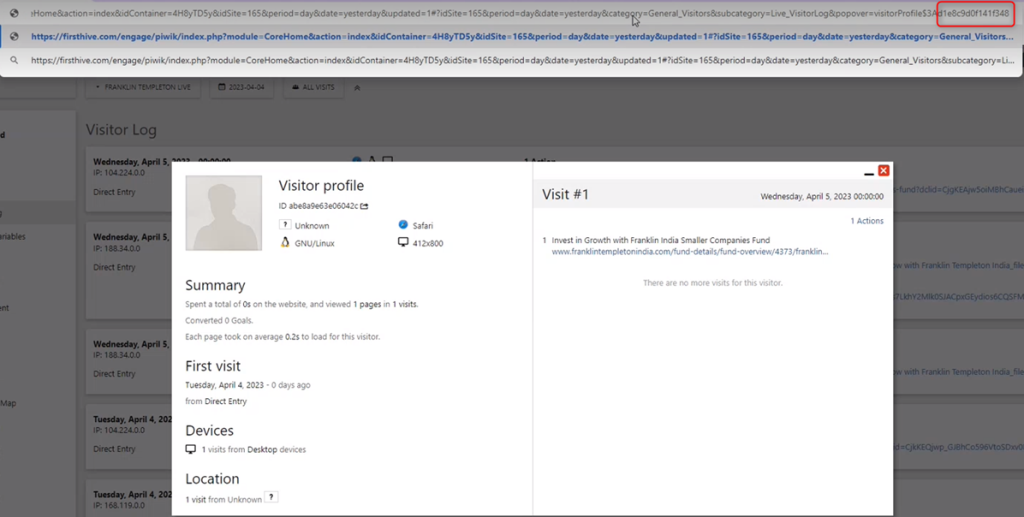
| Important For every visitor, the team creates a profile FH database. To check the profile, copy the visitor_id and paste in the link in place of the previous one. |
This will display the visitor’s profile for that particular id only.
For example, a user login to franklintempletonindia.com and go to Funds & Solutions page and under Family Solutions category, he/she chooses All Funds.
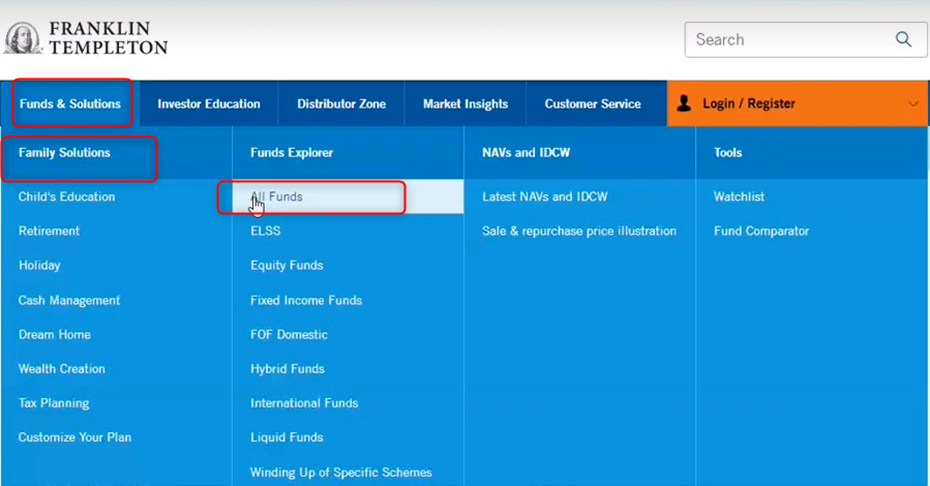
This will display all the pages visited by the user as shown in the screen.